Contact Us

Use the form on the right to contact us.

You can edit the text in this area, and change where the contact form on the right submits to, by entering edit mode using the modes on the bottom right. 


123 Street Avenue, City Town, 99999

(123) 555-6789

email@address.com


You can set your address, phone number, email and site description in the settings tab.
Link to read me page with more information.

IMG_1084.jpg

Blog

farm tech, farm food, farm style

I'm speaking at Cultivate'17! Yay!

Tyler Baras

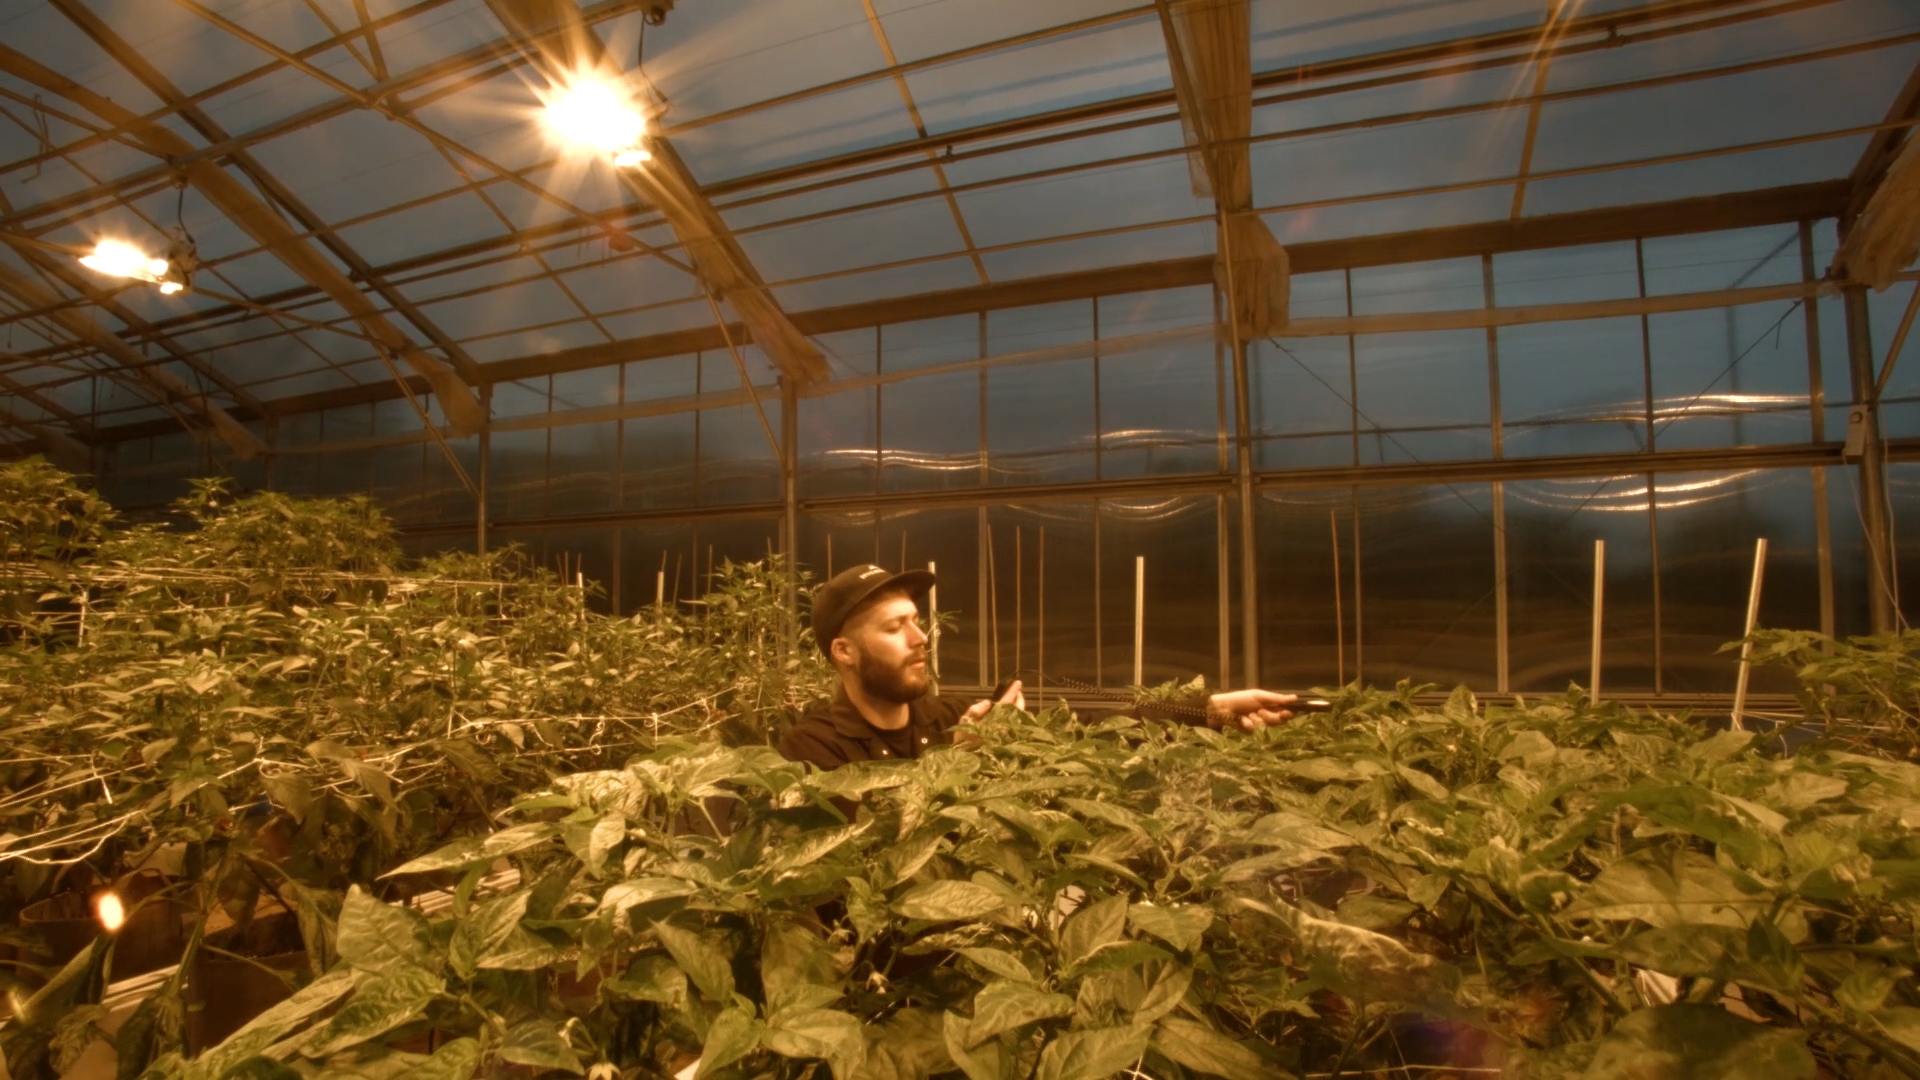
I got so excited when the organizers of Cultivate asked if I was interested in giving a presentation on how I got into horticulture and why I'm passionate about what I do! I got even MORE excited when they agreed to let me use smoke machines, strobe lights, backup dancers, and title my presentation "Crying into a Bowl of Lettuce… The Path to a Passion Driven Career in Horticulture!"

Then I found out there was no budget for smoke machines, strobe lights, and backup dancers... but I've still got some big plans! Come check out my presentation at Cultivate's CareerUP on Saturday, July 15th!! 


  • Event: Cultivate'17 CareerUP
  • Where: The Greater Columbus Convention Center, Columbus, OH
  • When: Saturday, July 15th from 10 a.m. - 4 p.m.
  • Presentation Title: Crying into a Bowl of Lettuce… The Path to a Passion Driven Career in Horticulture!
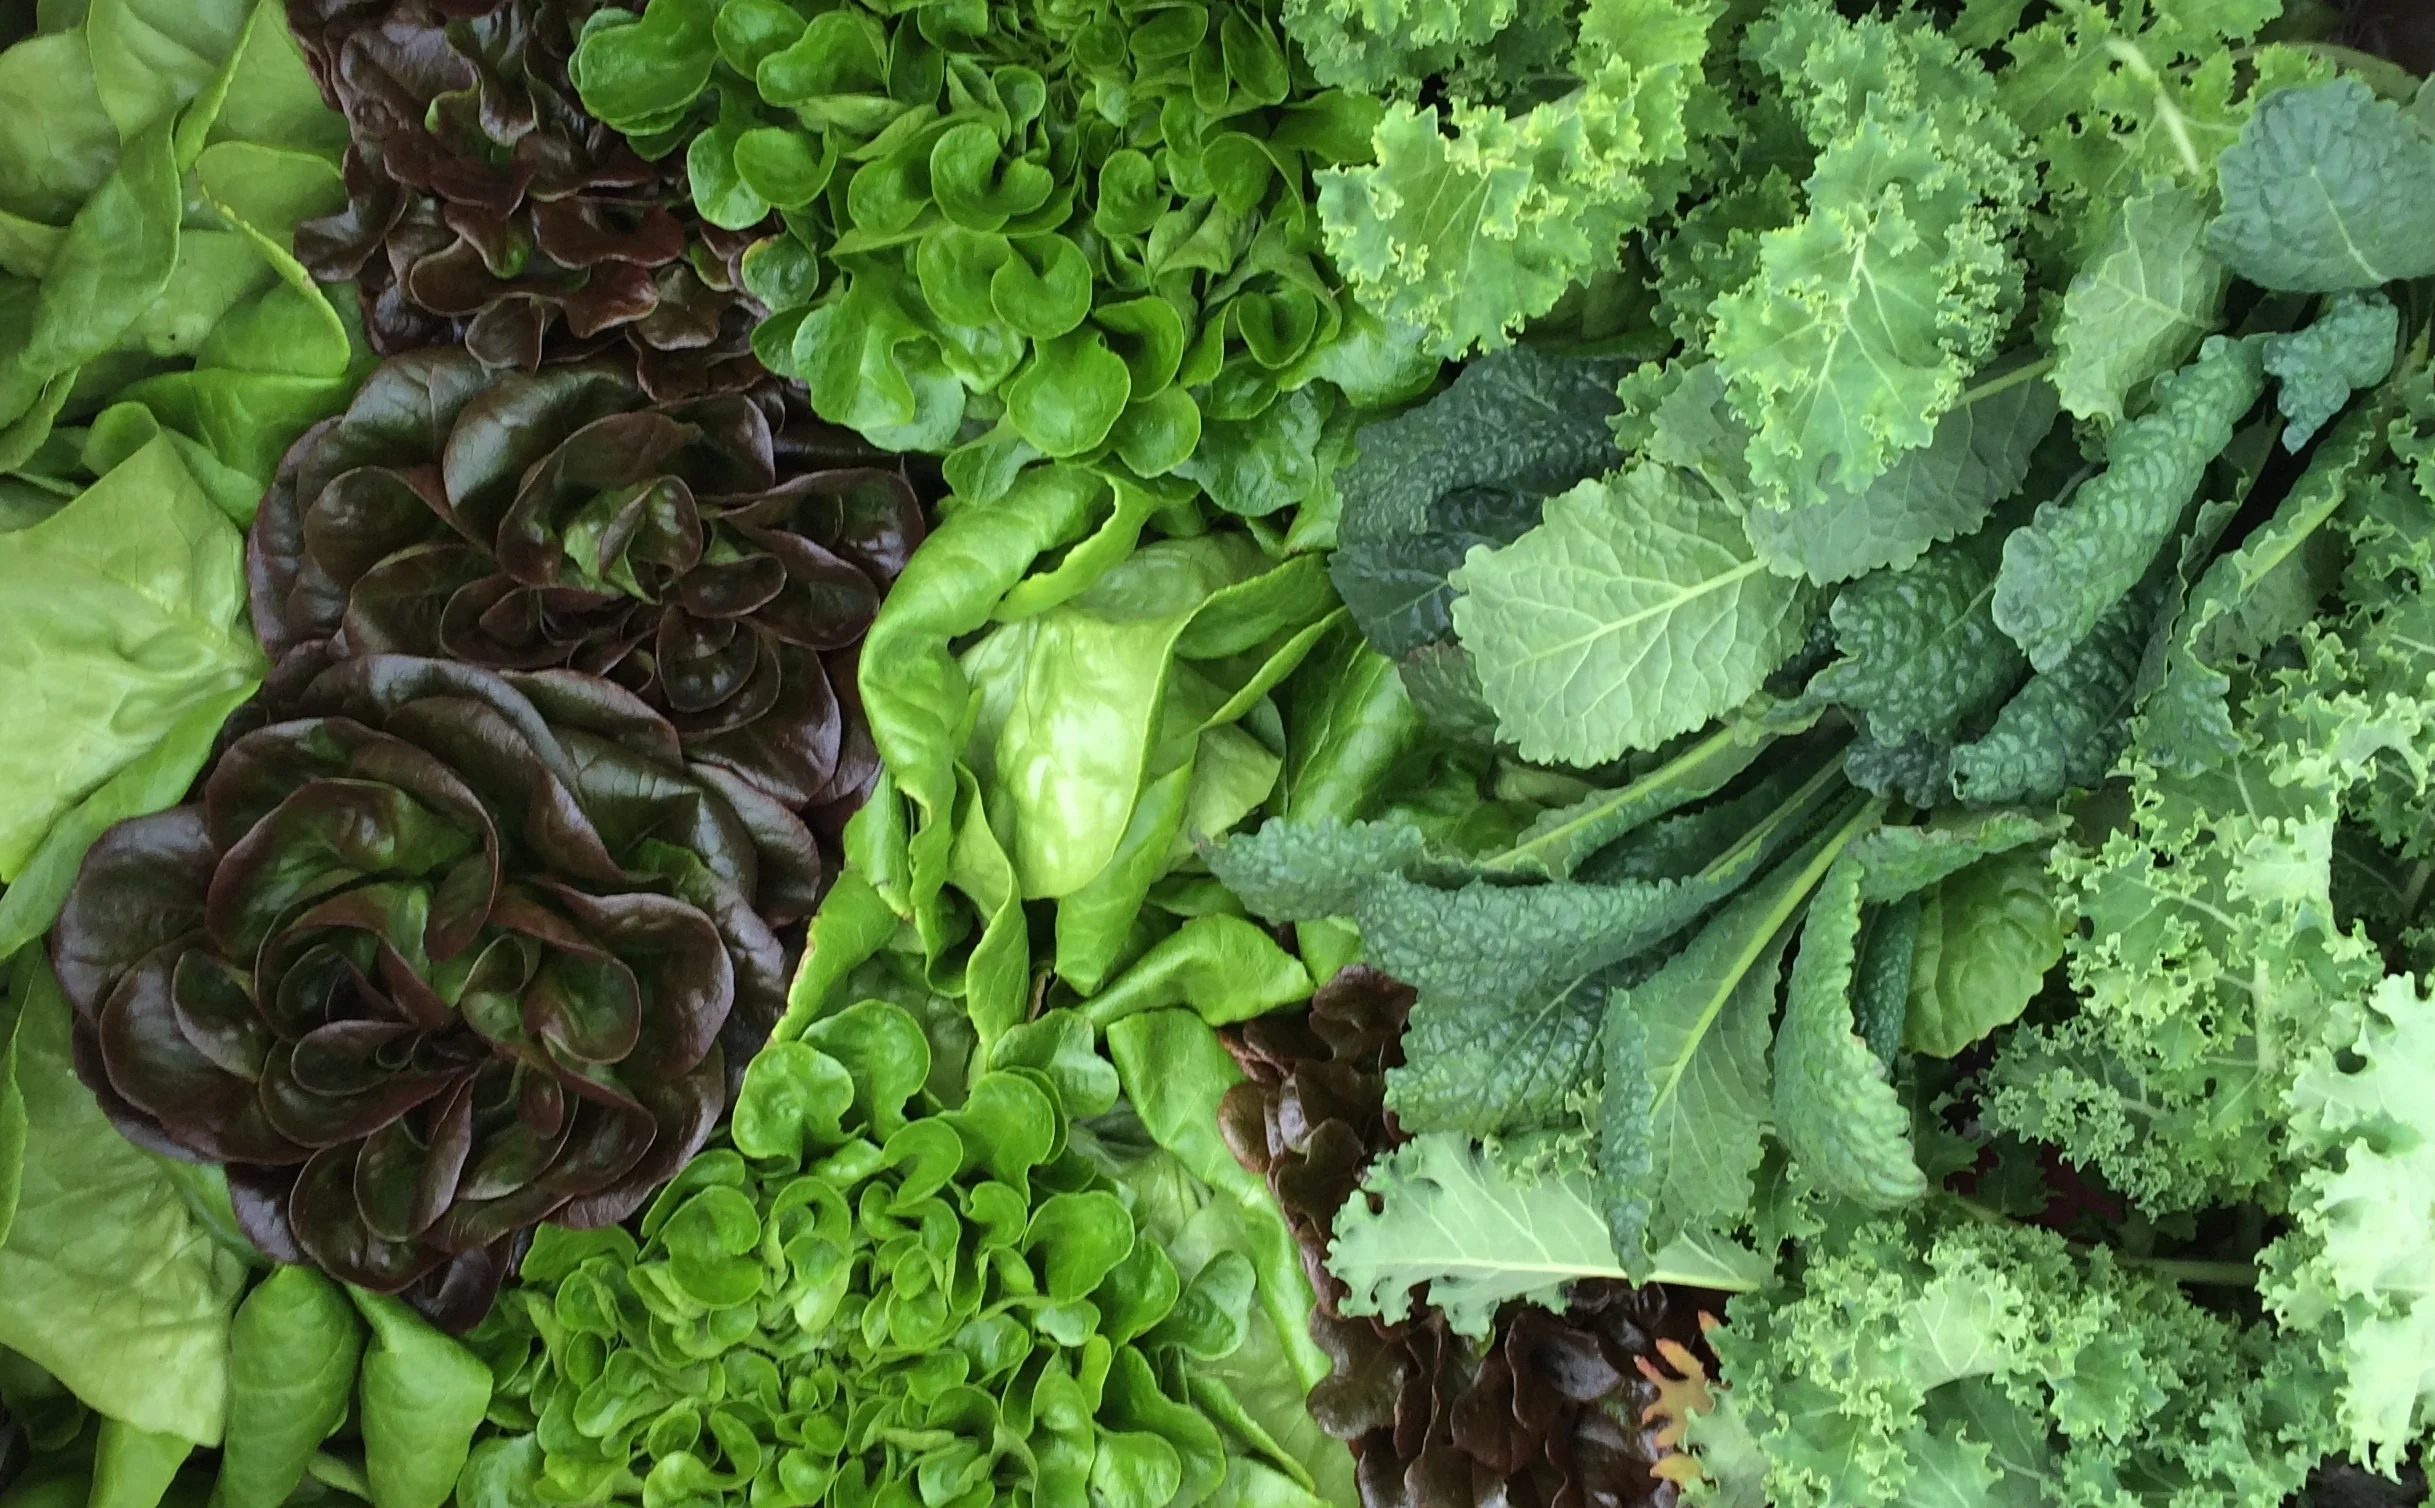
  • Description: The dream of working on a picturesque farm away from the cubicle life is what drives many to get into horticulture but the path to that dream is often a little less serene, full of crop failures, bad bosses, painful mistakes, and some tearful car rides home from the farm. I’m so grateful to be where I am now, finally realizing the dream that lead me into horticulture, that I’d gladly repeat the gauntlet of challenges that lead me here. Come laugh with me as I recount the horror stories from some of my previous jobs then watch me giggle with happiness as I share all of the exciting work I’m currently doing! A passion driven career can have a lot of challenges, but I can’t imagine choosing another path.

Growing Hydroponic Specialty Crops

Tyler Baras

I recently did an interview with Evan Bromfield of The Urban Vertical Farming Project and I'm super excited about how it came out! Below is an excerpt, head over to The Urban Vertical Farming Project blog to read the whole article!

Hydroponic Monsters: Not your usual suspects of lettuce and tomatoes, but these little-known plants kill it in hydroponic systems

Mizuna – “Mizuna is just a beast in hydroponics,” Tyler says. “It’s just the easiest crop to grow.” Mizuna’s serrated leaves look like saw teeth and it has a peppery, spiced taste, like a more mild version of arugula, something most people are already familiar with.

Mint – My farm already has 7 different mint varieties growing and we are still trying to get up and running fully. That 7 could easily double. Tyler says that some of the more unique flavors of mint are “a good way to really surprise someone. Though some of them are just gross.” He gags at the memory of lavender mint. But, anyone who has made the mistake of planting mint directly into a garden bed knows it’s a voracious plant, and it’s no different in hydroponics. Varieties that many people have never heard of (including the bartenders that make great customers for this specific plant) include: chocolate, pear, and pineapple.

Sorrel – Sorrel leaves have an interesting lemony tang similar to oxalis, an easily forageable edible plant most people think is a clover-like weed. In fact, oxalic acid gives both of these plants their flavor. Tyler recommends that when giving samples to chefs “Start with eating the stems and then the leaves. And, usually you just see the red vein sorrel, but the green sorrel is way tastier.”

Watercress – “It just explodes in any system I put it in,” says Tyler. “But it’s a magnet for aphids so you have to have a pretty good pest control program.” Tyler has found that it’s also a good plant for the farmers market. “Usually I think of it as something that people aren’t super familiar with, but if they know it they love it.”
— https://urbanverticalfarmingproject.com/2016/12/08/growing-rare-plants-hydroponically/

Easy Low-Maintenance Hydroponics - The Kratky Method

Tyler Baras

IF YOU HAVE NOT SEEN THE ‘EASY LOW-MAINTENANCE HYDROPONICS - THE KRATKY METHOD!' VIDEO ABOVE, GIVE IT A LOOK-SEE THEN CHECK OUT THE BLOG POST BELOW TO LEARN MORE!


EASY LOW-MAINTENANCE HYDROPONICS - THE KRATKY METHOD

Got a black thumb? Are you a serial plant killer? Don't give up, all hope is not lost! There is an easy way to grow... it's the Kratky Method!

Quick Definition

The easiest hydroponic growing technique. No pumps, no complex irrigation systems... it's pretty much just plants sitting in water. And it works!

History

Most of the early hydroponic research focused on static water systems. These systems worked, BUT, as scientists tend to do, they kept experimenting and eventually found there was an increase in plant growth when the nutrient solution was aerated. This discovery spurred the development of many circulating hydroponic systems like nutrient film technique (NFT) and top drip irrigation. Now most of the hydroponic research is focused on these circulating systems, BUT, there are still horticulturists experimenting with non-circulating hydroponics. One of the most vocal proponents of non-circulating hydroponics is Dr. Bernard Kratky of the University of Hawaii. He has done so much to continue the development of non-circulating hydroponics that his name has almost become synonymous with the technique... thus it is commonly referred to as the Kratky Method! Learn more about non-circulating hydroponics from the man himself in this paper or this video!

DIY Kratky Systems

Here is a simple system I built in 10 ish minutes. I made a video with my buddy Gary Pilarchik (The Rusted Garden) which explains the system shown below in further detail. Gary is an avid gardener but new to hydroponics. He is going to be releasing videos of his experience with hydroponics and I'm super excited to follow his progress. You can do it Gary! 

This basil is less than 3 weeks old!

This basil is less than 3 weeks old!

STEP 1

Cut foam board to fit inside a 5 gallon bucket.

Cut foam board to fit inside a 5 gallon bucket.

STEP 2

Get seedlings. Leafy greens (lettuce, kale, herbs..) are the ideal crop for Kratky style systems. Seedlings can be started in a hydroponic substrate like the stonewool above or in soil. When using seedlings started in soil, try to use as little…

Get seedlings. Leafy greens (lettuce, kale, herbs..) are the ideal crop for Kratky style systems. Seedlings can be started in a hydroponic substrate like the stonewool above or in soil. When using seedlings started in soil, try to use as little soil as possible and wait until seedling has developed enough roots to prevent soil from quickly washing away into the nutrient solution (see image below).

This is a well developed seedling started in soil that I transplanted into a hydroponic system.

This is a well developed seedling started in soil that I transplanted into a hydroponic system.

Step 3

Cut holes in the foam board to fit seedling plugs. Most leafy greens should be spaced 6" apart. Fill bucket with water and mix in hydroponic fertilizer using recommended rates on fertilizer bag. For this system I used MaxiGro by General Hydroponics.

Cut holes in the foam board to fit seedling plugs. Most leafy greens should be spaced 6" apart. Fill bucket with water and mix in hydroponic fertilizer using recommended rates on fertilizer bag. For this system I used MaxiGro by General Hydroponics.

Step 4

Let it grow! No need to do anything. I didn't touch this system for nearly 2 months!!

Let it grow! No need to do anything. I didn't touch this system for nearly 2 months!!

2 Months Later...

I severely neglected these basil plants. I didn't give any attention to this system and should have harvested the crop much earlier (probably after 1 month) but I just let the system keep doing its thing and after 2 months I had these monster basil …

I severely neglected these basil plants. I didn't give any attention to this system and should have harvested the crop much earlier (probably after 1 month) but I just let the system keep doing its thing and after 2 months I had these monster basil plants. Hooray for the Kratky method!!

The Salad Box System used in the "Easy Low-Maintenance Hydroponics - The Kratky Method!" video was provided by Hydrofarm. I only promote products that I believe in, and the salad box is pretty rad. Thank you Hydrofarm for helping me create educational content! 

How to Measure and Calculate Supplemental Light in a Greenhouse or Indoors Using LUX and PAR Meters

Tyler Baras

IF YOU HAVE NOT SEEN THE ‘HOW TO MEASURE AND CALCULATE SUPPLEMENTAL LIGHT IN A GREENHOUSE USING LUX AND PAR METERS’ VIDEO ABOVE, GIVE IT A LOOK-SEE THEN CHECK OUT THE BLOG POST BELOW TO LEARN MORE!

How to Measure and Calculate Supplemental Light in a Greenhouse or Indoors

Growing is a science. Many growers know their EC/ppm, pH, air temperatures, relative humidity… but a surprising number of growers do not know how much light they are giving their crop. To start, let's look at four key terms.


Photosynthetically Active Radiation (PAR)

This is light that plants use to power photosynthesis.

Photosynthetic Photon Flux Density (PPFD)

This is how much PAR reaches the crop. PPFD measures how many photosynthetically active photons (measured in μmol) are landing in a square meter (m2) each second (s)... the unit used is μmol/m2/s.

Lux

Lux is another way to measure light intensity per square meter, but instead of using PAR it uses a measurement of light intensity based on brightness perceived by the human eye.

Daily Light Integral (DLI)

A PPFD measurement shows light intensity per square meter per second. A DLI measurement shows the light intensity delivered per square meter per day. That means adding up the PPFD for each second throughout the day. The unit used is mol/m2/d. DLI does not use μmol because the number would be HUGE. A mol is 1,000,000 μmol.


THE PROCESS

The following process can be used to calculate how long to run lights in a greenhouse or indoors to meet the required DLI for your crop. If you are growing indoors, start at Step 4.

STEP 1: Determine Outside DLI

There are a few ways to determine outside DLI for your location and season:

  • Measure with a PAR meter. Some PAR meters have an option to take PPFD measurements throughout the day and add these instantaneous measurements into a daily total, or a Daily Light Integral (DLI - mol/m2/s)
  • Use the Clear Sky Calculator
  • Check out the DLI Maps (image below) developed by Dr. Jim Faust

STEP 2: Determine Greenhouse Light Transmission

The best way to determine transmission is by measuring outside PPFD and comparing it to an average inside PPFD. If you do not have a meter, below are some reference transmission levels for common greenhouse coverings. The transmission levels below do not factor in other obstructions in the greenhouse that might reduce transmission. Dirt and dust on the coverings can also reduce transmission.

  • Single Polyethylene Film - 85%
  • Double Polyethylene Film - 77%
  • Corrugated Polycarbonate - 91%
  • Double Wall Polycarbonate - 78%-82%
  • Glass - 78%-90%

STEP 3: Calculate DLI Inside Greenhouse

Multiply the outside DLI by the transmission to get your inside DLI.

Example: If the outside DLI is 25 mol/m2/d and transmission is 80%. 80% of 25 is 20. So the inside DLI is 20 mol/m2/d.

STEP 4: Find Crop's Target DLI

Purdue Extension has an awesome pdf with target DLIs for various crops. These DLI recommendations should be used as a reference, not as a required minimum or maximum.

Below are some DLIs that I see growers use in greenhouses and indoors. The target DLI will depend on many factors including crop, crop stage, air temperature, humidity, CO2 levels... but these are some general targets to get you started.

Greenhouse

Vegetative Growth (Leafy Greens/Herbs): Minimum 17 mol/m2/d

Flowering Crops (Peppers/Tomatoes): 25-45 mol/m2/d

Indoors

Microgreens: 6-12 mol/m2/

Vegetative Growth (Leafy Greens/Herbs): 12-17 mol/m2/d

Flowering Crops: 20-40 mol/m2/d

STEP 5: Determine Required Supplemental DLI

To figure out how much light you will need from your supplemental source (HPS, MH, LED, T5...), you need to figure out the difference between your inside DLI and your target DLI. If you are indoors, your starting inside DLI is 0. For greenhouse growers, use the inside DLI calculated in STEP 3.

Example: If the target DLI is 30 mol/m2/d and the inside DLI is 20 mol/m2/d, then your required supplemental DLI is 10 mol/m2/d.

STEP 6: Calculate Output From Lights

The best way to do this is with a PAR meter. Take PPFD readings from multiple locations to create an average PPFD. Measure output at night when there is no interference with sunlight. If you have a Lux meter, use these conversion tables to convert your Lux to PPFD. If you do not have a PAR or Lux meter, some manufactures can give you an estimated output for their lights at various heights above the crop. 

At this point you could go to this DLI calculator and enter in your measurements to determine how long to run your lights to reach your target supplemental DLI OR you can continue with the process below to learn the math yourself!

STEP 7: Convert Output From Lights Into mols/m2/h

Multiply the PPFD (μmol/m2/second) value determined in STEP 5 by 60 to get μmol/m2/minute. Multiply that by 60 again to get μmol/m2/hour. Then divide by 1,000,000 to convert from μmol to mol, giving you the output of your lights in mols/m2/hour.

Example: PPFD of 400 μmol/m2/s * 60 seconds/minute gives 24,000 μmol/m2/minute THEN 24,000 μmol/m2/minute * 60 minutes/hour gives 1,440,000 μmol/m2/hour THEN 1,440,000 μmol/m2/s divided by 1,000,000 μmol/mol gives 1.44 mol/m2/hour!

STEP 8: I See The Light!

Last step! Divide your Supplemental DLI from STEP 5 by your mols/m2/h from STEP 7 to calculate how long to run your lights to reach the target DLI.

Example: Supplemental DLI 10 mol/m2/day divided by output of lights at 1.44 mol/m2/hour gives us 6.94 hours... meaning if we ran these lights for 6.94 hours each day we would give the crop an additional 10 mol/m2/day of light.


Well, that was a fairly math intensive post... if you are feeling like you need to give your brain a break, check out this video! It has spider mites dying and cute kids...!


The lights used in the "How to Measure and Calculate Supplemental Light in a Greenhouse Using Lux and PAR Meters" were provided by Hydrofarm. They've been very supportive and I really appreciate them helping me create educational content. Thanks!

Home Hydroponics with Farmer Tyler on Studio 512 (KXAN Austin)

Tyler Baras

Earlier this week I visited Studio 512 on KXAN Austin to explain the science behind hydroponics and show some easy-to-use home hydroponic systems. Thank you Amanda Tatom and Studio 512 for inviting me on the show! It was a lot of fun!! 

What Is Hydroponics? -- Hydro History

Tyler Baras

IF YOU HAVE NOT SEEN THE ‘WHAT IS HYDROPONICS?’ VIDEO ABOVE, GIVE IT A LOOK-SEE THEN CHECK OUT THE BLOG POST BELOW TO LEARN MORE!

Hydroponic History

Last week a new science was given a new name. Hydroponics, by its foremost U. S. practitioner, Dr. William Frederick Gericke of the University of California.” 

Time Magazine, March 3, 1937

Time wasn’t entirely accurate in their reporting. The roots of hydroponics actually reach back long before 1937, so it was not a “new” science even then. It is widely believed that the famous Hanging Gardens of Babylon employed hydroponic principles in 600 B.C., as did the ancient Aztecs of Mexico with their Chinampas –floating gardens—in the sixteenth century.

In the seventeenth century, a British politician, philosopher and scientist named Sir Francis Bacon experimented with soilless gardening; his results were published in his book Sylva Sylvarum, after his death in 1627. This was an era that is sometimes called the time of “New Learning,” during which scientific methods were being discovered and established. Sir Francis Bacon was among those credited with being a catalyst for this new approach, and his findings resulted in an upsurge in hydroponics research.

Another Brit, naturalist John Woodward, carried on with more extensive water culture experiments, publishing his findings in 1699. He discovered that water mixed with soil grew healthier mint plants than plain water did. Woodward was using the nutrients in the soil, without really knowing what they were or why they were helping the plants. Side note: average life expectancy in England at this time was 36 years!

In the mid-1800s, German botanists Julius von Sachs and Wilhelm Knop developed what is considered to be the first truly hydroponic approach to growing plants, a method known then as “solution culture,” but nowadays commonly referred to as Deep Water Culture.

Back to our friend at the University of California at Berkeley, Dr. William Frederick Gericke: he was, by the late 1920’s, growing enormous tomato plants via what he first termed “aquaculture.” As mentioned above, he later renamed this technique of growing plants without soil, “hydroponics,” the word combining the Greek words “hydro” (water) and “ponos” (labor). Instead of working the soil, the hydroponic gardener works (labors) the water.

"Successful experiments by Professor W. F. Gericke, at the University of California, and by Arthur C. Pillsbury." On hydroponics and chemical-assisted hydroponic plant cultivation. time-lapse cinematography of plant growth Production Company: Bell & Howell Filmo Rental Library

Dennis Hoagland and Daniel Arnon, also scientists at Berkeley, were early developers of nutrient solution formulas, and in 1938 introduced the Hoagland solution, later modified by Arnon in 1950 and still in use today.

The onset of World War II brought with it large-scale commercial hydroponic gardens set up by the U.S. military in locations not suited to growing the tomatoes, peppers, cucumbers and beans that the troops enjoyed.

Modern-day hydroponics techniques are the result of continuing experimentation and refinement, and are finding new practitioners everywhere as word spreads about the many advantages of growing this way. Hydroponics can help with water conservation, land preservation, and can provide food for those living in inhospitable or polluted environments. It even allows an everyday apartment dweller to keep a supply of fresh and nutritious food on hand year round. Schools and non-profits are growing hydroponically—imagine being a school kid in Chicago in February and harvesting cucumbers!

Hydroponics is even opening up opportunities to grow in space with the international space station, where astronauts consumed hydro-lettuce in space in 2015, and perhaps it will someday be utilized on other planets! They’re even growing flowers in space with hydroponics! The University of Arizona’s Lunar Greenhouse project employs a prototype hydroponic growth chamber to explore the practical realities of growing fresh produce for astronauts:  http://ag.arizona.edu/lunargreenhouse/

Thanks for your interest!

Below is the ‘What Is Hydroponics?’ video in Spanish 👍